Cloud Setup#
Launch Environments#
Various cloud-based Jupyter server environments have been configured to work with QuantEcon Data Science.
These environments provide a Jupyter interface which displays in your browser, but the code is hosted and run on the cloud.
This allows you to interact with this lecture material without requiring you to install Python or any other required software on your own computer.
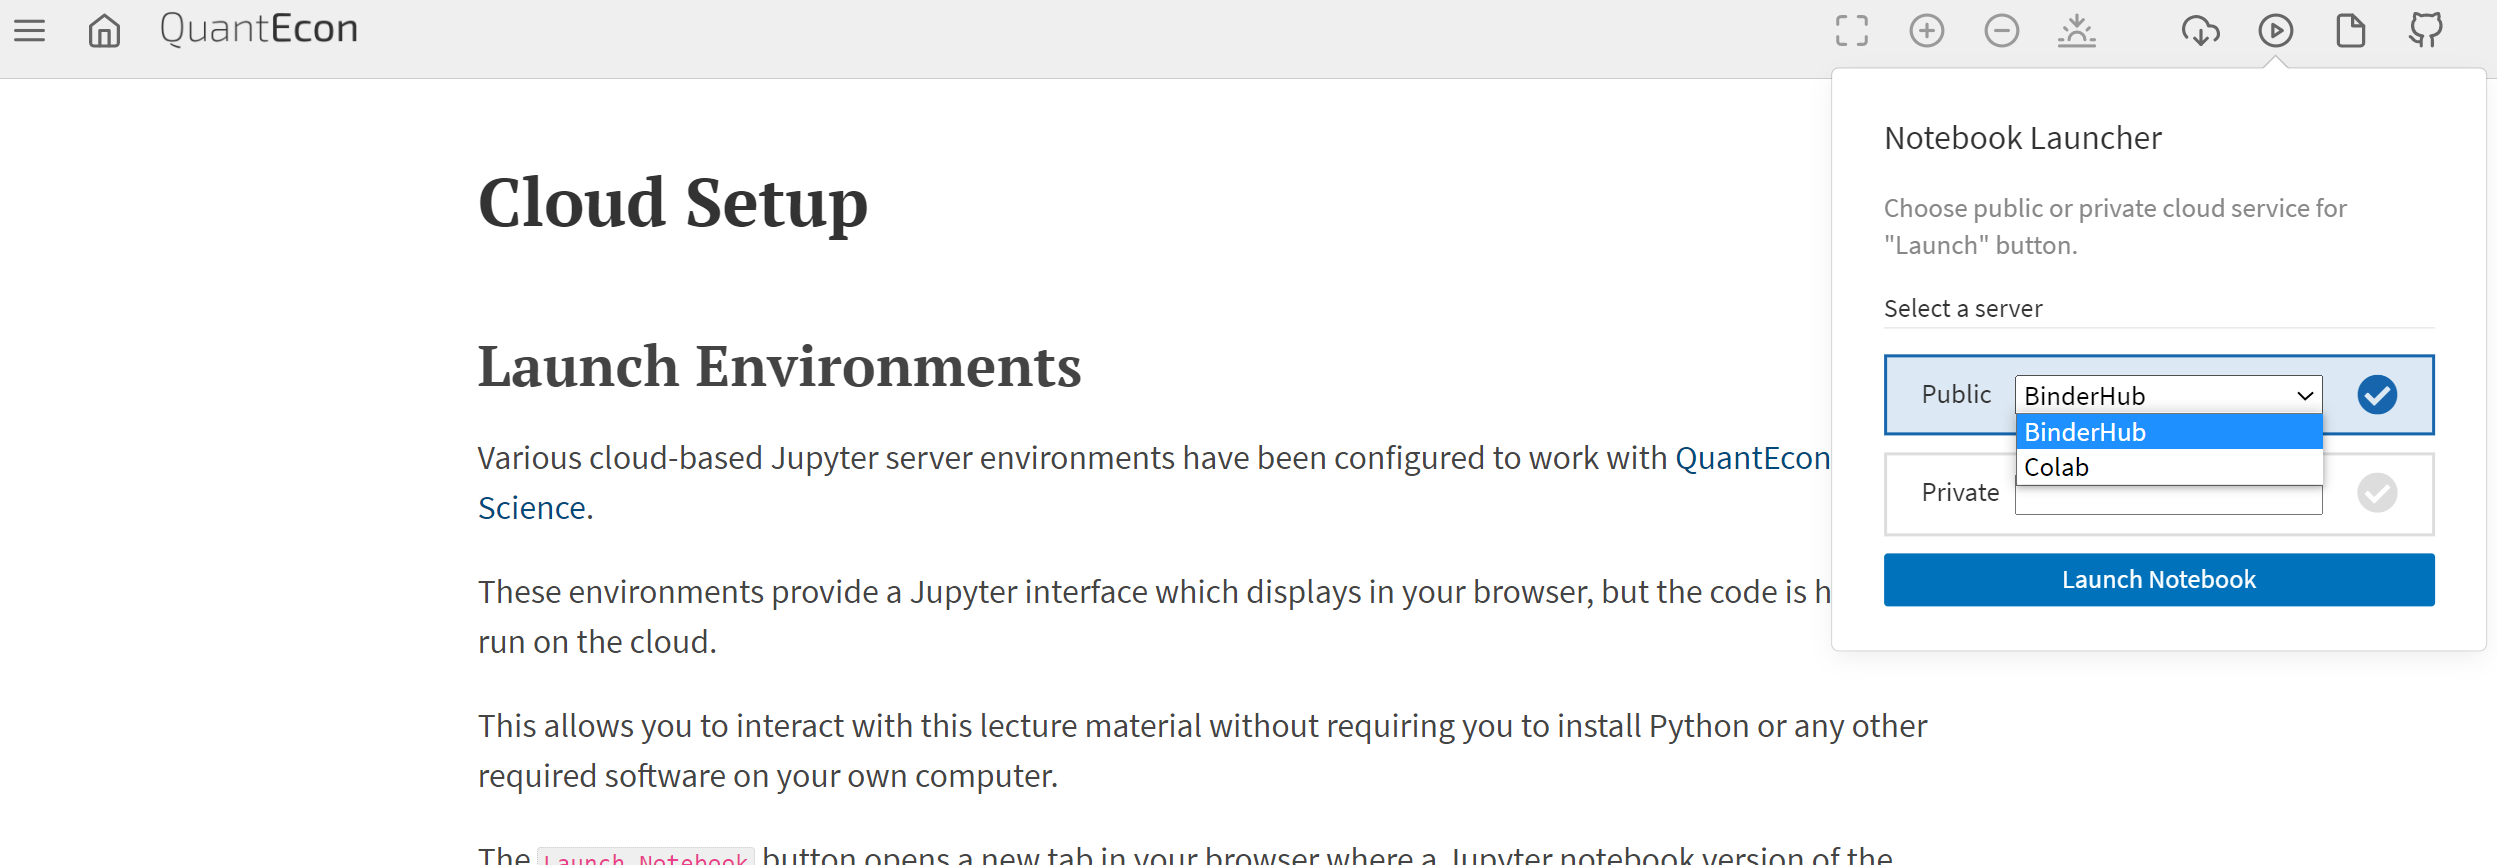
The Launch Notebook button opens a new tab in your browser where a Jupyter notebook version of the
current lecture page will be opened with the selected cloud service.
You can change your cloud environment by selecting another server from the drop down menu (see image):
We discuss each of the options below.
BinderHub#
Launching BinderHub#
To launch course material through BinderHub:
1. Choose the BinderHub under select a server: public on the launch bar to change the backend hub.
2. Click on the Launch Notebook button.
3. Wait for BinderHub to connect to the repo
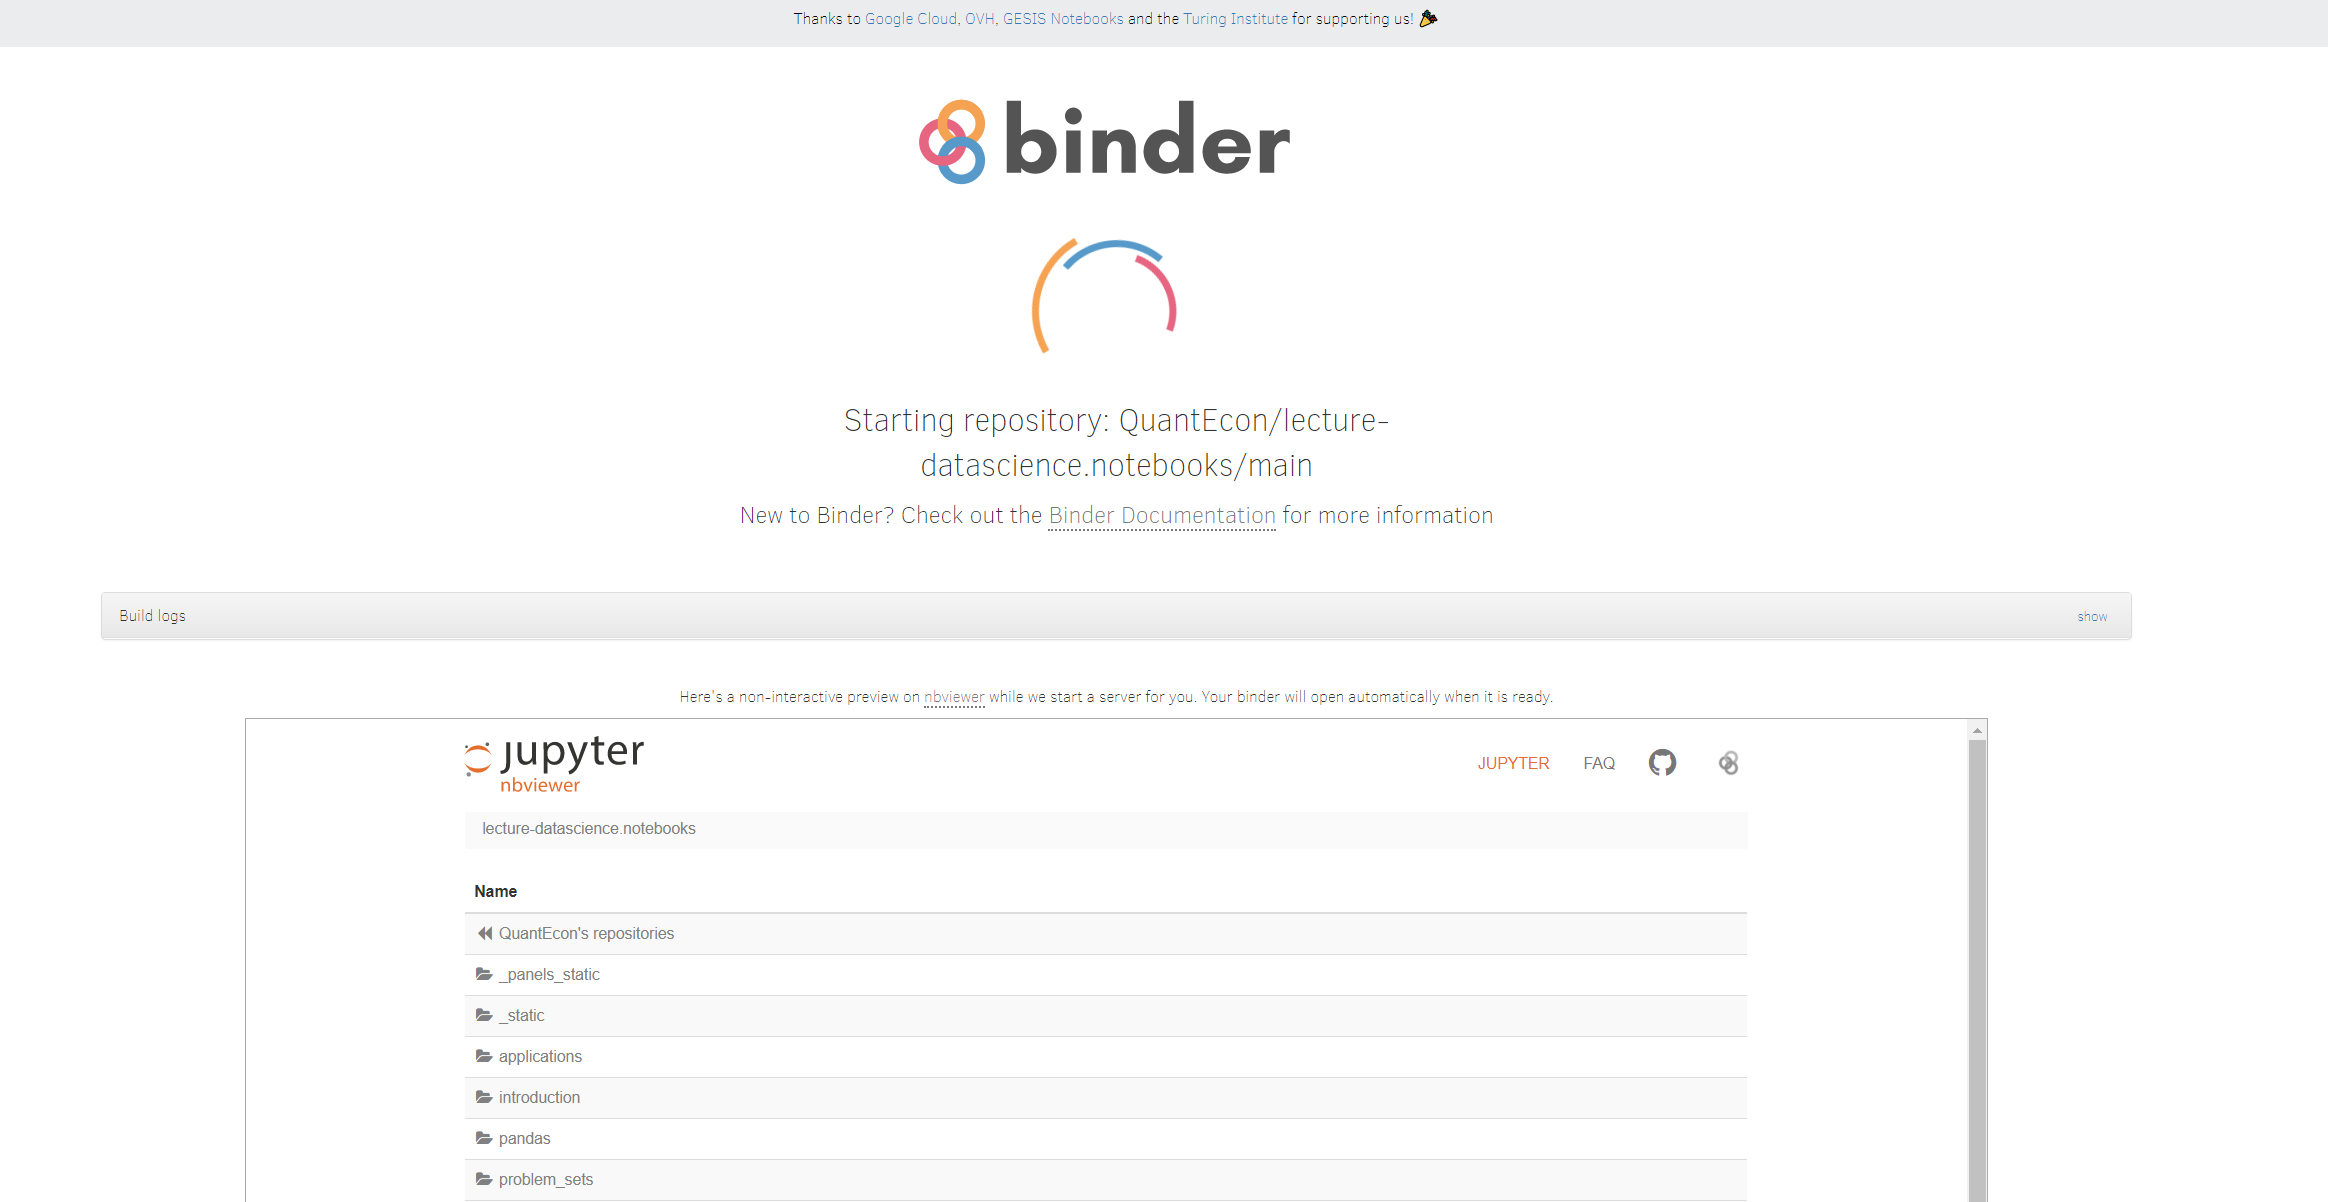
4. You can use the Jupyter Network interface with BinderHub
Google Colab#
Google Colab is a cloud service hosted by Google.
With this environment, you can potentially use GPUs and other specialized computational platforms.
This won’t make a difference at first, but having access to a GPU or TPU could improve performance.
We recommend starting with the other cloud options because the environment provided isn’t quite the same as what you would get on your computer because Google has made their own modifications to underlying Jupyter software.
Launching Colab#
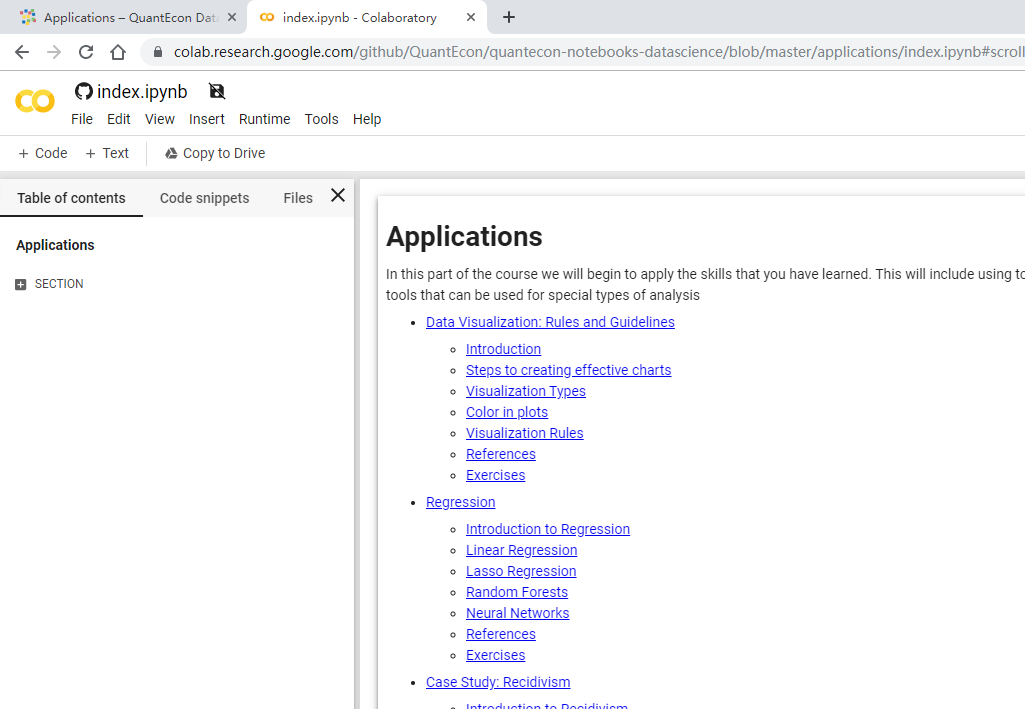
To launch course material through Google Colab:
1. Choose the colab under select a server: public on the launch bar to change the backend hub.
2. Click on the Launch Notebook button.
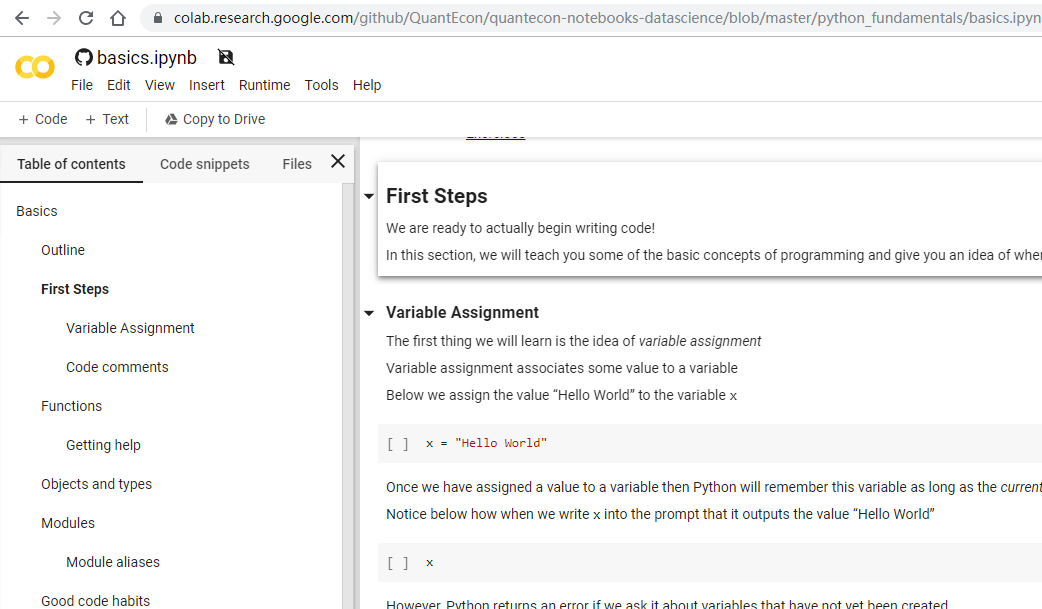
3. You will be asked to sign in with your Google account and you will see something similar to the following picture.
4. Once you have launched a Colab notebook, you will need to make sure that any software missing from Colab gets installed — this step isn’t required for all notebooks.
For lectures where this step is required, we have provided a script that automatically configures missing software.
To run this script, you will need to uncomment the code at the top of the notebook and execute the
cell — when we say “uncomment”, all we mean is to remove the # that precedes the ! in the
code that follows.
See the code below to see what we mean:
# Uncomment following line to install on colab
#! pip install
5. To navigate sections within a Colab notebook, click on the little arrow at the top left corner of the page,
Then, “table of contents” will pop up. You can click on sections or subsections for different parts of the notebook.
File Management on Colab#
By default, Colab will erase any work that you have done after you have exited a notebook.
If you would like to store your work, you can save it onto your Google Drive by clicking the
Copy to Drive button.
You can create a new notebook by clicking File on the menubar and selecting
New Python 3 notebook.